

How to Prepare Sea Moss: 4 Quick and Simple Steps to Follow
Sea moss is known as an excellent prebiotic for the gut. It helps good bacteria to thrive and it’s full of fiber that promotes a healthy colon and digestive system. So, if you’ve got a bunch of sea moss, you need to get the most out of it. With that, you need to prepare it the right way.
Depending on the type of sea moss you have and how much you usually consume, the dry product weight will vary. Here’s a straightforward guide to prepare your sea moss:
1. Wash It
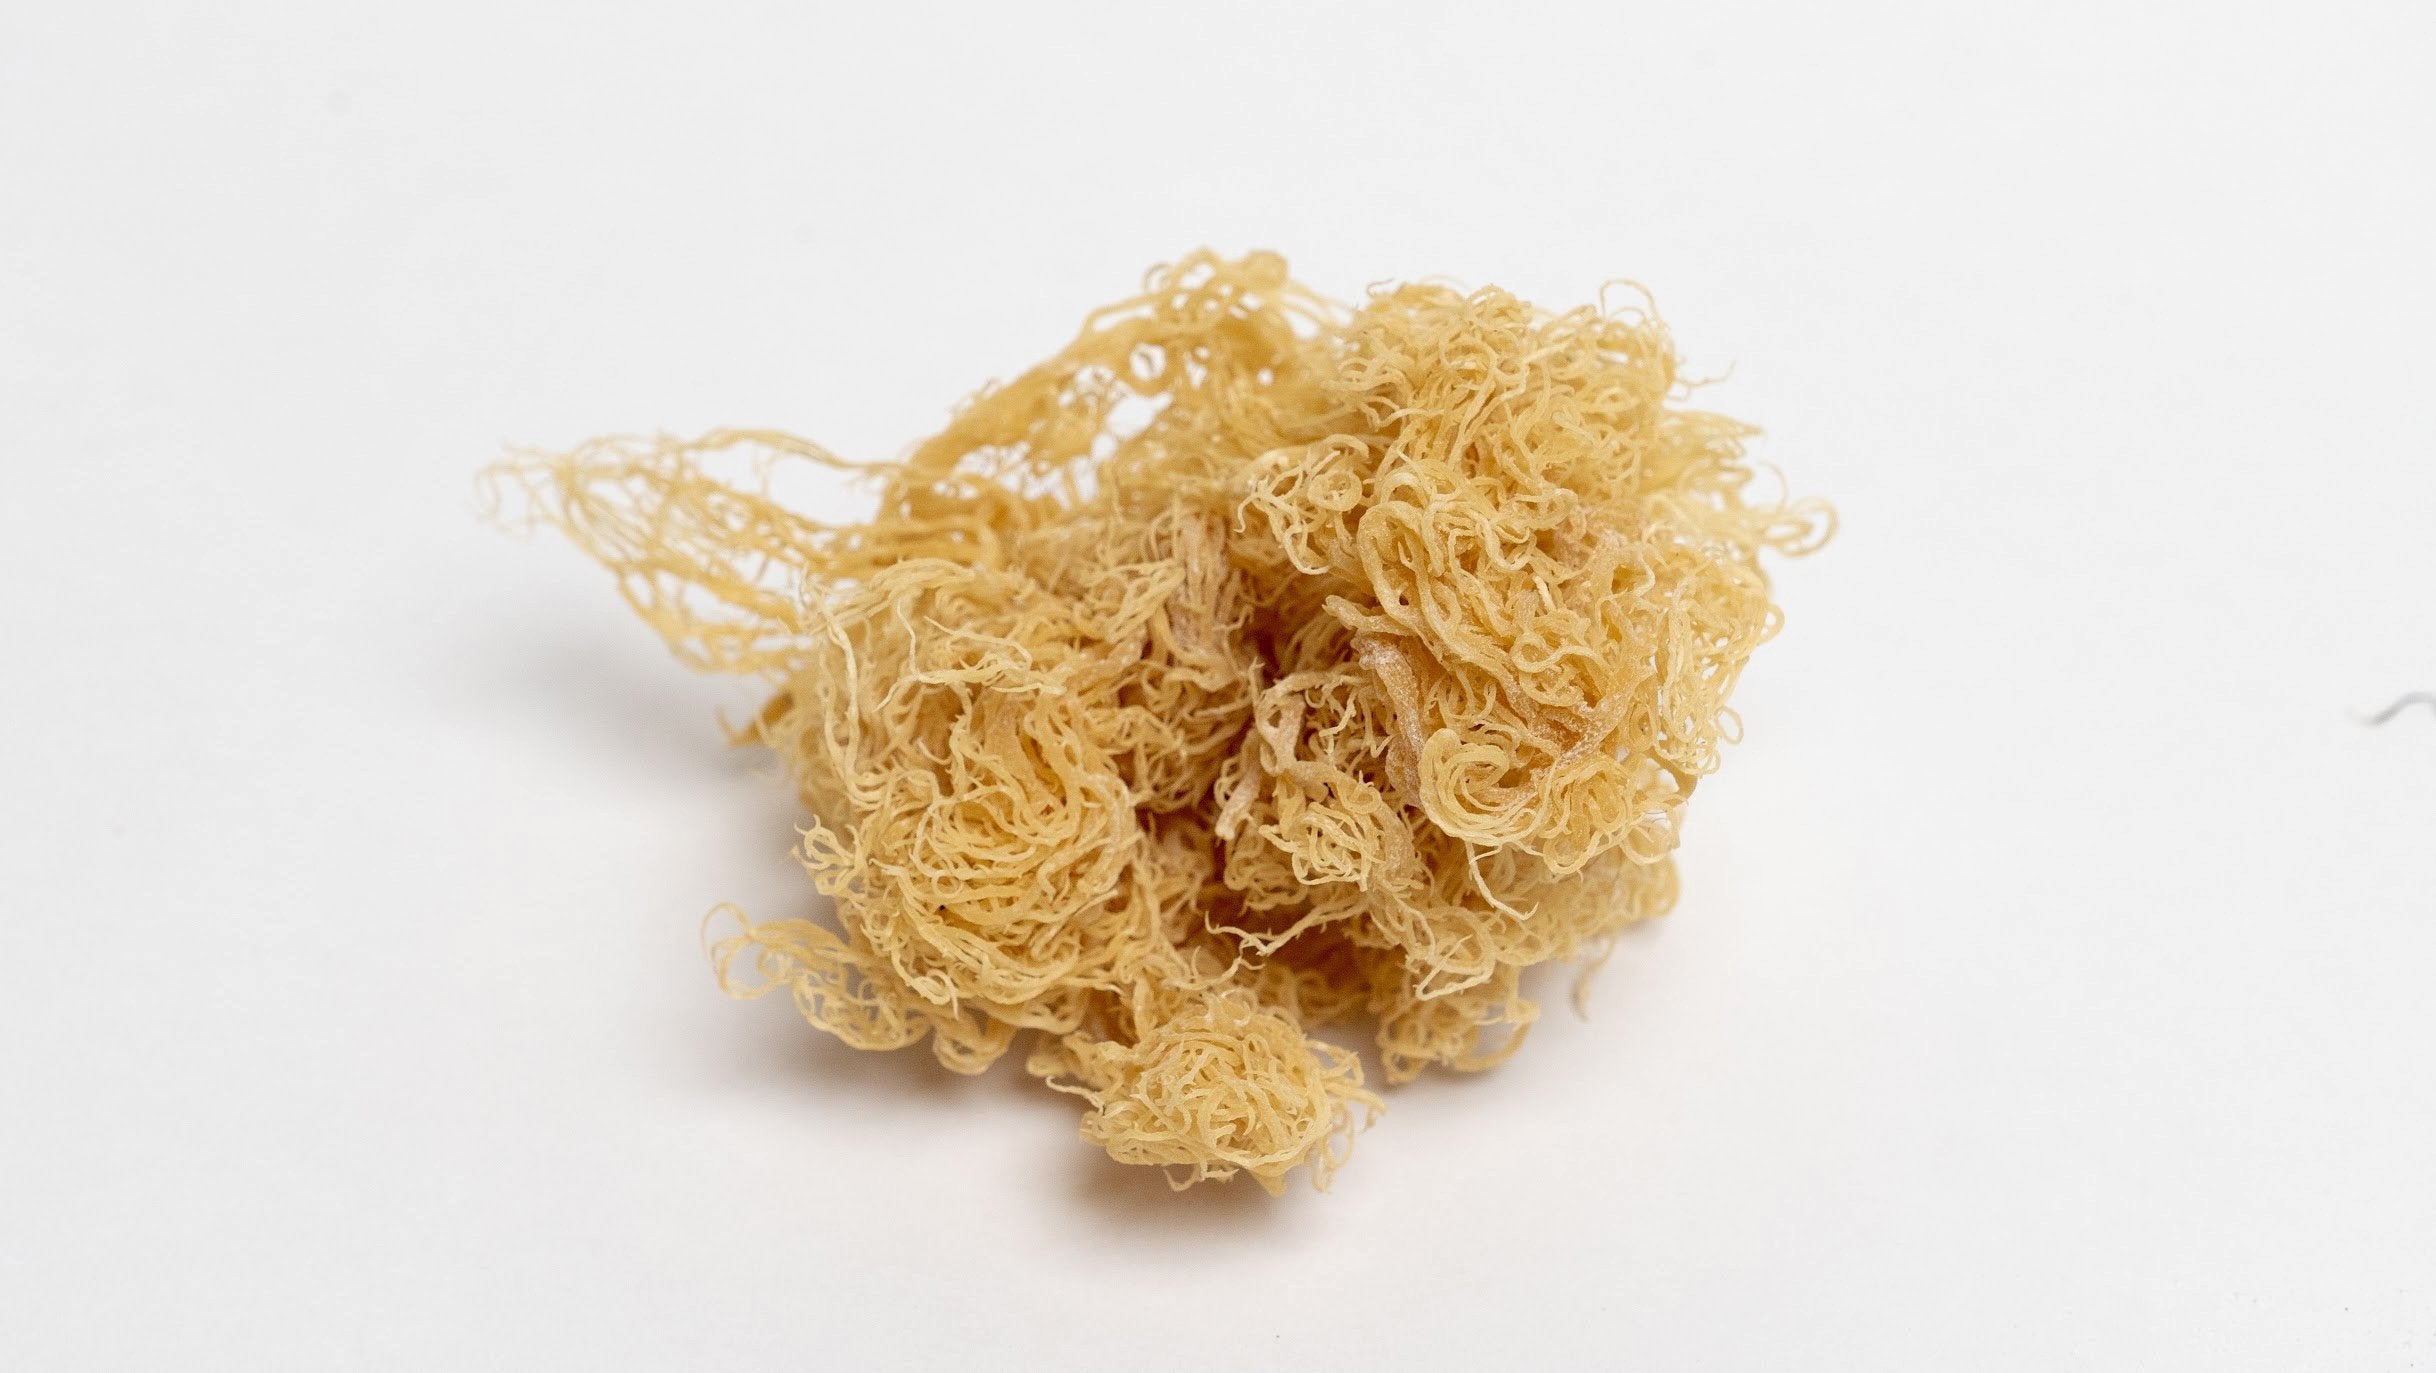
Sea Moss will be very dry in the raw form. If it has alot of moisture it was not dried properly and will have an odor. As much as possible, use filtered water to avoid soaking up chemicals that may potentially be in tap water. When washing your seaweed, get as much sand, salt, and other impurities in the first wash. It’s best to run it in water within 3-5 minutes. Change the water and rinse the sea moss before you move on to the next step.
2. Soak It
Some cook the sea moss, but others prefer to soak it to preserve its nutrients. Therefore, it’s a much better option if you want to get the most out of it. Ideally, sea moss should be soaked no longer than 24 hours.
When you soak it, make sure the water is pure—it can be filtered or spring water. Make sure your sea moss is submerged entirely during this time. Cut in half 2 to 4 key limes and squeeze juice in the water. Also, put those same key limes in the water and let it soak with the sea moss. The purpose of this step is to add a natural preservative citric acid which is contained in key limes. One of the other important reasons is to help eliminate any sea taste your sea moss may have.
3. Blend It
When you’re done soaking, place it in a strainer for its final rinse in clean. Some people use the soaked water for their plants as it contains 92 plus minerals and it will be beneficial to nature. Please do not drink this water or blend with it. Make sure not to add too much water the first time when blending. A good rule of thumb is 2 parts water and 1 part sea moss. You can add more water as you go until you get your desired thickness. Keep in mind: the less water you add, the thicker it will be. If more water is added it will still gel up but have a more loose texture.
4. Store It
Store your sea moss in a clean BPA free plastic or glass container otherwise, it will go bad quicker than you expected. Generally, the sea moss can be stored in the fridge for 3-4 weeks.
There you have it! Preparing sea moss isn’t that difficult, really. It only takes a matter of time and a bit of patience to get the most out of your sea moss. Your first batch may not come out perfect, but keep trying. You have plenty of time to get it right! Just remember if it’s too thick or too thin it can still be used.
Conclusion
Use this simple step-by-step guide to prepare your sea moss. When done right, you can get the most out of it. Ensuring you have clean water to clean and blend your sea moss in is crucial to the entire process. Aside from that, you also need to get high-quality wildcrafted sea moss. Be careful as there is alot of low quality sea moss on the market these days. You will know it by the smell and dirty appearance.
Plant Based Jeff is a top sea moss provider and a plant-based transition coach. We offer a wide range of natural products including wildcrafted premium sea moss that is ethically harvested. Buy sea moss in Georgia today!

Leave a comment
This site is protected by hCaptcha and the hCaptcha Privacy Policy and Terms of Service apply.